
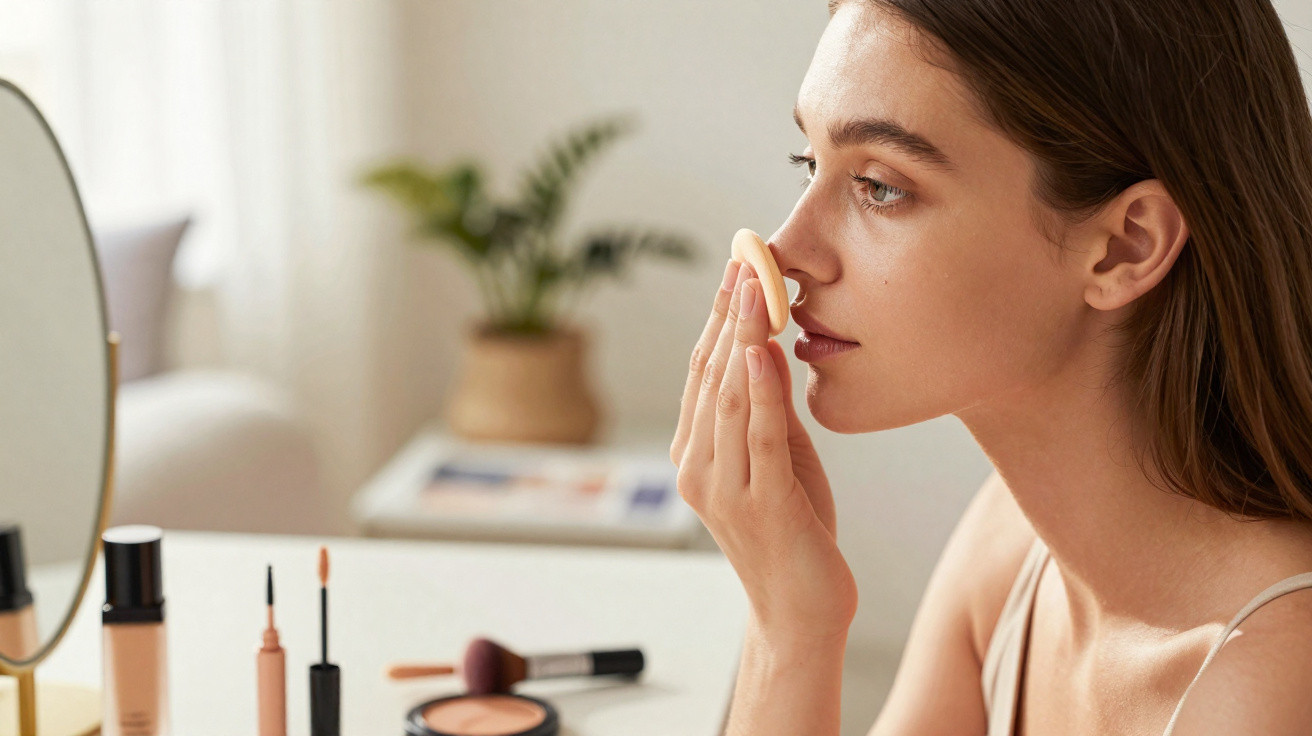
A make-up professional is now calling for a radical change of approach.
If you reach for foundation in the morning, you’re aiming for an even, fresh-looking complexion - not a shiny, crumbly finish staring back at you in the bathroom mirror by mid-afternoon. A seasoned make-up artist explains why this happens so often, and why two parts of the face should receive far less foundation than most people assume.
Why the classic “full-face foundation” approach so often backfires
A lot of people apply foundation as a uniform layer across the entire face: forehead, nose, cheeks, chin - sometimes even over the ears and down the neck. The coverage can look impressive at first, but the downside tends to show up a few hours later.
"Foundation collects in pores and fine lines, emphasises skin texture and increases shine - especially where the skin naturally produces more oil."
Common issues as the day goes on include:
- A shiny forehead and nose
- Foundation that “sinks” into fine lines
- Make-up that gathers around the edges
- A patchy complexion as product shifts
- A heavy, mask-like finish
Because of this, the make-up artist - who has been working professionally for almost two decades - relies on using less product and, crucially, placing it with intent.
The “T-zone problem area”: why forehead and nose don’t like foundation
The so-called T-zone includes the forehead, nose and often the chin. These areas produce noticeably more sebum than the cheeks. Ironically, many people instinctively apply extra product here to cover redness, blemishes or discolouration.
From a dermatological point of view, that’s the least suitable place for a lot of foundation. Skin in this area:
- becomes oily faster
- has larger pores
- turns shiny more quickly
- allows make-up to “slide” more easily
"The more foundation you put on your forehead and nose, the quicker the skin shines - and the more often you end up re-powdering."
When sebum and sweat mix with a thicker make-up layer, pigments can break apart, settle into pores and make the skin look visibly uneven. Exactly where you want a smooth, matte look, the complexion can end up looking the most inconsistent.
The pro technique: how to apply foundation with precision
The make-up artist’s method is surprisingly straightforward and doesn’t require specialist products. It’s less about which foundation you use, and more about where it goes and how much you apply.
Step 1: keep the focus on the cheeks
Start application on the cheeks, the chin and the transition down towards the neck. This is where many people have redness, faint shadows or pigmentation that benefits from light-to-medium coverage.
- Dot foundation in small amounts onto the cheeks, chin and the sides of the face
- Blend using a brush, sponge or your fingers until the skin looks even
- Sweep any remaining product down the neck so there are no harsh lines
"Most of the foundation belongs where the skin stays calm - not where it gets oily the fastest."
Step 2: treat forehead and nose with only a whisper of product
Now for the key trick: no fresh pump of foundation goes onto the forehead or nose. The pro uses only what’s left on the brush or sponge.
How to do it:
- Don’t pick up any new product
- Lightly sweep the leftover product over the forehead and nose
- Blend only until the tone matches - the skin should still show through
This creates a thin veil that evens out the overall tone without clogging pores or visually amplifying oiliness.
Targeted correction instead of a mask: using concealer properly
So what about redness around the nostrils or a spot on the forehead? Rather than covering everything with a thicker foundation layer, the make-up artist recommends correcting only where needed.
A practical approach:
- Put a tiny amount of concealer or a cover stick on your fingertip or a small brush
- Tap it onto the specific area - don’t rub
- Soften the edges gently so there’s no visible outline
"Coverage belongs on blemishes, not across the whole forehead."
This keeps the skin’s texture and natural look intact while redness or dark areas are reduced. The T-zone stays lighter and is far less likely to break up.
Fine-tuning with bronzer: shaping the forehead instead of coating it
Many people apply heavier make-up to the forehead because they want it to look “smaller” or softer. The pro prefers to create that effect with bronzer rather than extra foundation.
His method:
- Apply bronzer only around the outer edge of the forehead along the hairline
- Blend thoroughly so no lines are visible
- Keep the T-zone largely free of foundation, or use only the thinnest layer
The result is a subtly contoured, lightly sun-kissed look - without the forehead and nose appearing heavily made up.
Adapting the method for different skin types
For oily or combination skin
If you’re prone to shine, you’ll benefit most from the “less is more” approach in the T-zone. Targeted mattifying helps too.
Recommended steps:
- Use a lightweight, non-comedogenic primer only on the T-zone
- Apply foundation as described: more on the cheeks, barely any on forehead and nose
- Press in a very fine layer of translucent powder only on the T-zone (tap rather than sweep)
- During the day, lift shine with blotting paper or a tissue and re-powder very lightly only if needed
"Adding new layers of foundation on shiny skin increases the mask-like feel - it’s better to remove oil first, then mattify subtly."
For dry or mature skin
If you have dry skin or fine lines on the forehead, you’ll notice quickly that a lot of foundation can make skin look older, because product settles into lines and can start to flake.
Here, reducing product makes an even bigger difference:
- Work in a good moisturiser before applying make-up
- Choose a very light foundation or a tinted moisturiser
- On forehead and nose, use only what’s left on the brush - don’t add more
- Don’t try to “erase” fine lines; soften them with a lightweight texture instead
The outcome: skin looks fresher, facial expression stays soft, and the face appears less harsh.
Common mistakes - and how to avoid them
| Mistake | Result | Better approach |
|---|---|---|
| Too much product on the T-zone | Heavy shine, crumbly areas | Use only leftover foundation from your brush/sponge |
| Multiple layers during the day | Mask effect, visible edges | Blot shine, then re-powder lightly instead of reapplying foundation |
| Broad concealer application on forehead and nose | Unnatural flatness, pores look emphasised | Apply only to individual blemishes or red areas |
| A thick film of powder over the whole face | Dry, dull look; lines appear deeper | Powder only the T-zone, in a very thin layer, pressed in |
Why less foundation often looks better
The way we think about make-up has shifted significantly in recent years. Social media filters and studio lighting have long suggested that a flawless complexion needs to be completely “plastered” over. In real life, that kind of finish can look unnatural very quickly.
Many skin details we judge as flaws aren’t especially noticeable to other people. Applying too much product can actually draw attention to those areas because it builds up there. Pores, fine lines and tiny uneven patches can suddenly look more pronounced.
"A whisper of foundation in the right places often does more than full coverage."
If you adjust your routine so the forehead and nose are only lightly evened out, you’ll see several benefits: the skin feels more breathable, the face looks less shiny, and foundation lasts longer without constant touch-ups. At the same time, you keep coverage where it truly helps - on the cheeks, chin and specific problem areas.
For long office days, events or hot summer weather, it’s worth trying a simple comparison: do your usual full-face application one day, then treat the T-zone with this pro method on another. A glance in the mirror later in the afternoon usually makes it obvious which option performs better.




Comments
No comments yet. Be the first to comment!
Leave a Comment