
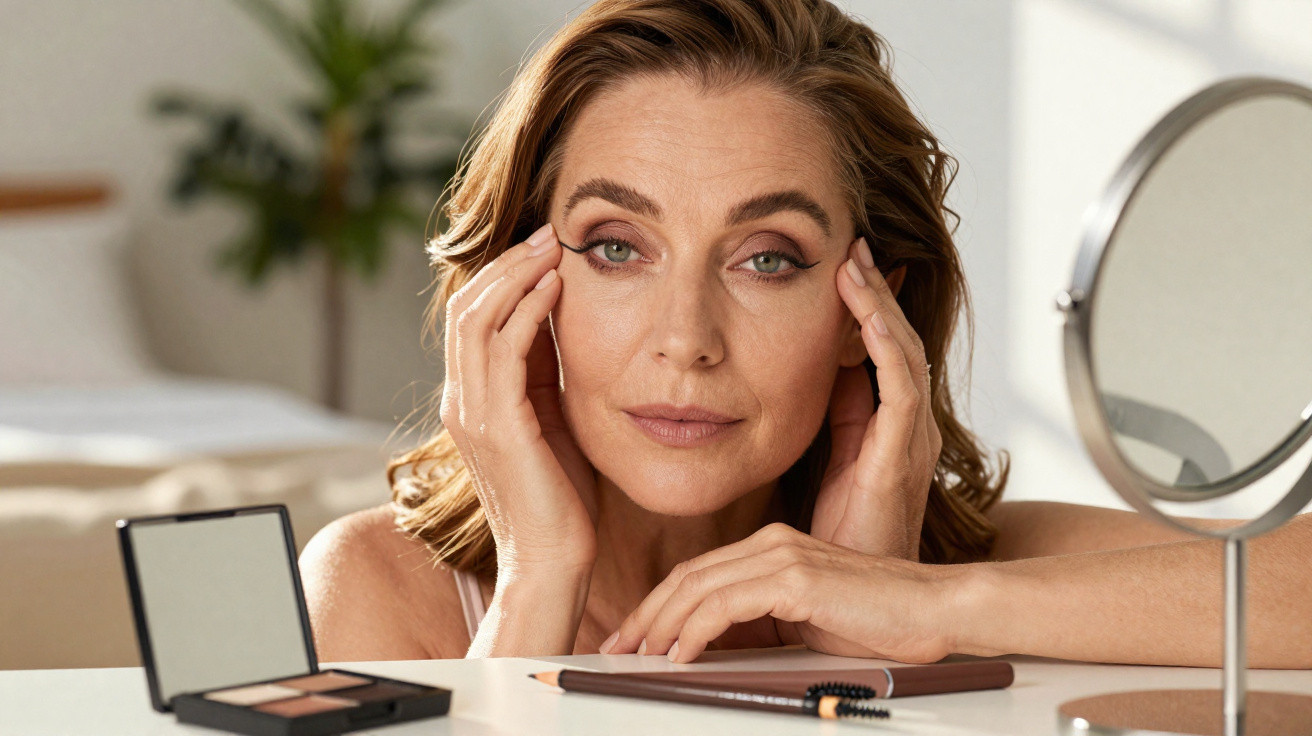
Many women notice, around their fifties, that the upper lid starts to feel heavier and the mobile lid all but disappears. Make-up routines that used to be foolproof suddenly stop working: eyeliner transfers or shifts, and eyeshadow settles into fine lines. With a few easy, professional techniques, you can visually lift droopy lids and make your whole expression look fresher - without going anywhere near a scalpel.
Why eyelids suddenly start to “sag” after 50
As the years go by, skin loses elasticity and collagen. The earliest changes tend to show up in the thinnest areas - especially around the eyes.
- The skin on the upper lid becomes finer and softer.
- The fixed lid partially folds over the mobile lid.
- The lash line can look shorter and less visible.
- The eyes may look tired, and sometimes even “sad”.
If you keep applying make-up the way you did at 30, you often make things worse without realising: eyeshadow creases, eyeliner bends where there’s excess skin, and mascara can stamp onto the upper lid.
Targeted make-up adapts the technique to the new eye shape - and can visibly lift droopy lids.
Trick 1: Prep the upper lid with a matte base before anything slips
This step may sound basic, but it determines whether your eye look lasts two hours or all day. Droopy lids usually mean more creasing and often slightly oilier skin.
Prepare the lid like this:
- Apply a tiny amount of eyeshadow primer or concealer in a thin layer across the entire upper lid - up to the brow bone.
- Set it with a translucent powder or a matte, skin-toned eyeshadow.
- Focus extra powder where creases form when your eye is open.
This visually smooths the surface. Liner and shadow adhere more reliably and are less likely to settle into lines. At the same time, the upper lid can look a little “lighter”.
Trick 2: Rethink eyeliner - adapt the line to your creases
The classic youthful wing is barely visible for many people after 50 because the skin simply folds the line over. A technique developed by a well-known make-up artist for very hooded lids can help.
No pulling, no stretching - keep the eye relaxed
When applying eyeliner, many people lift the skin at the outer corner to make the line look “straighter”. Going forward, it’s better to stop doing that. The moment you let go, the skin drops back - and the liner can look broken or jagged.
Better:
- Keep the eye naturally open and look into the mirror.
- Tilt your head slightly back so you’re looking directly at the upper lid.
- Don’t tighten the skin; work with how your eye looks in everyday life.
The point just below the crease: a small tweak with a big impact
Instead of placing the wing right in the middle of the crease, position it a fraction lower. This creates a lifted effect without the line disappearing into the fold.
A clear step-by-step:
- Using a soft pencil liner or gel liner, draw a thin line close to the upper lash line - stopping just before the outer corner.
- Keep one eye naturally open and place a small dot at the outer end of the line, positioned just below the crease.
- Connect that dot back to the lash-line liner so you get a short, gently upward “mini wing”.
- If needed, soften it slightly with a fine brush so the transition stays smooth.
The trick: the tip of the liner sits under the crease, so it doesn’t buckle - the eyes look more awake, even though the line is very subtle.
If you’re not confident drawing it in one stroke, use several short strokes and join them up. You can tidy mistakes easily with a cotton bud and a little cream.
Trick 3: Place eyeshadow strategically instead of covering everything
With hooded lids, a heavy block of colour rarely helps - it can actually make the eye look smaller. A few well-chosen placements are far more effective.
A simple, everyday approach:
- Light, matte shade on the mobile lid and slightly above it - this opens up the eye.
- Mid-tone, neutral shade slightly above the natural crease, blended towards the temple to create a “new”, visually higher crease.
- Darker shade very close to the outer lash line, smudged slightly upwards - don’t pull it downwards.
Key point: glitter right in the crease draws attention to fine lines. Matte or softly satin finishes are the better choice. Keep the blending gentle so the lift looks soft rather than harsh.
Trick 4: Eyebrows as a natural mini lift
One detail many people overlook: brow shape has a huge influence on how open the face appears. An experienced make-up artist puts it plainly: “A large part of the work with droopy lids is in the brows.”
A lifting effect by creating more space beneath the brow
The aim is to create as much “breathing room” under the brow as possible, without making the brow look artificial. Here’s how:
- Brush the eyebrows downwards first. This makes it easy to spot gaps along the top edge.
- Use a fine brow pencil to draw in only the missing hairs on the upper area - don’t fill it in like a solid block.
- Then brush the brows upwards again to reveal the natural lower edge.
- Only add a touch more where there are genuine gaps.
If you fill the brows too strongly and too low, you visually “push” the eye down. Slightly lifted, naturally filled brows act like a small lift.
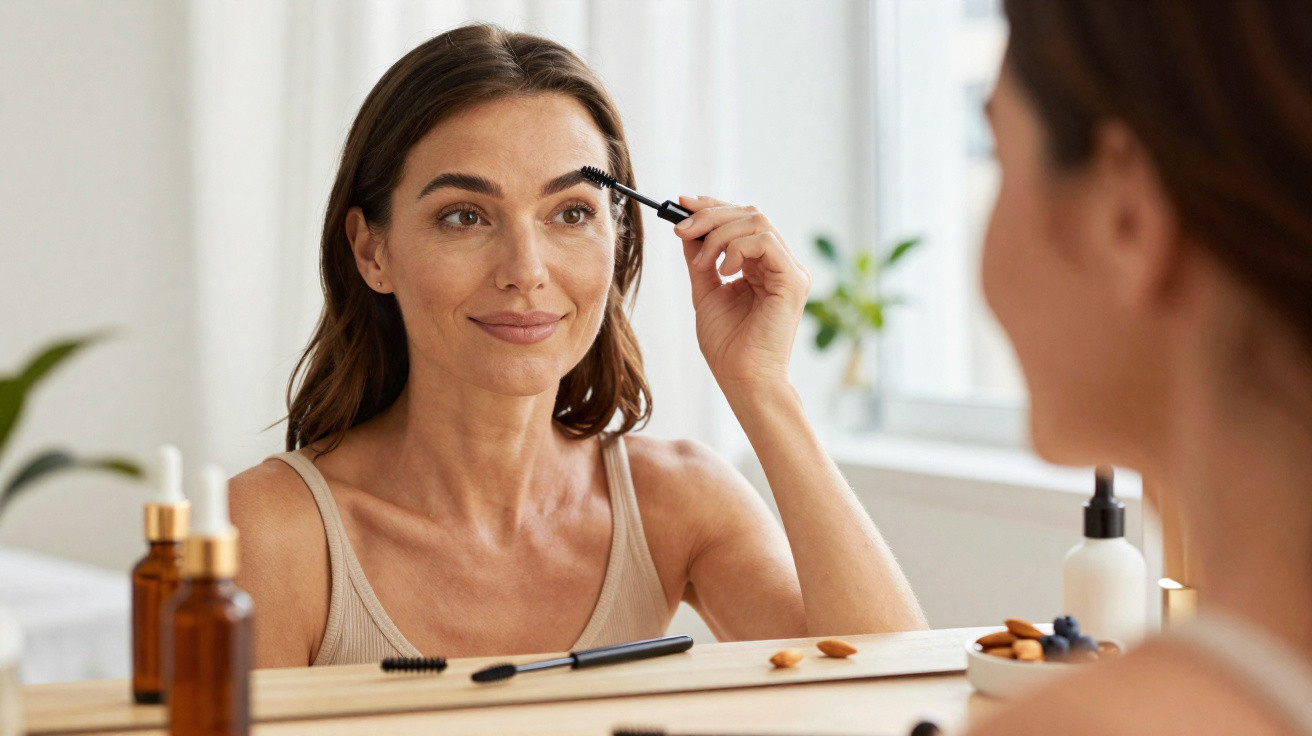
Finish with a clear brow gel to softly set the hairs upwards. This automatically increases the space between lid and brow, making the eye area look clearer and more youthful.
Which products make sense for mature eye areas
If your skin is sensitive and more mature, texture and finish matter.
- Eyeliner: Gel or cream liners are often easier to control than very stiff felt-tip pens. Dark brown usually looks softer than deep black.
- Eyeshadow: Matte or satin shades are kinder to fine lines than chunky shimmer. Light, cool tones can help neutralise redness.
- Mascara: Curling lashes before applying mascara adds extra lift. Waterproof formulas help prevent transferring onto the upper lid.
- Brow pencil: Choose a fine tip, smudge-resistant formula, and lean towards ashier tones so it doesn’t look “drawn on”.
If your eyes water easily, it’s best to trial new products on a day at home first. That way you can see whether they truly wear well without smudging.
Risks and limits: what make-up can do - and what it can’t
Make-up creates optical illusions, but it doesn’t replace medical treatment. With very pronounced excess skin, eyeshadow may still collect in the fold, and eyeliner might only be visible from certain angles.
A few things to keep in mind:
- Avoid rubbing your eyes - it irritates delicate skin and can speed up the development of fine lines.
- Always remove make-up gently, using an oil-based cleanser or balm rather than vigorous rubbing.
- Introduce new products in small amounts first to help prevent irritation.
If you’re persistently bothered by heavily drooping lids that even encroach on your field of vision, you can also seek advice from an ophthalmologist or dermatologist. For many people, though, a refreshed make-up approach is enough to feel more comfortable again when they look in the mirror.
How to combine the four tricks in everyday life
These techniques can be mixed and matched depending on how you feel and what you’re doing. On a rushed office morning, two steps are often enough: a mattified lid and slightly lifted brows. For an evening plan, add a soft mini-wing and a little deeper shadow at the outer lash line.
If you feel unsure at first, practise on a quiet afternoon without time pressure. After a few tries, most people learn exactly what angle the eyeliner tip needs and which brow shape gives the best lifting effect. Taking small before-and-after photos can help you judge the impact realistically and refine your routine step by step.



Comments
No comments yet. Be the first to comment!
Leave a Comment