
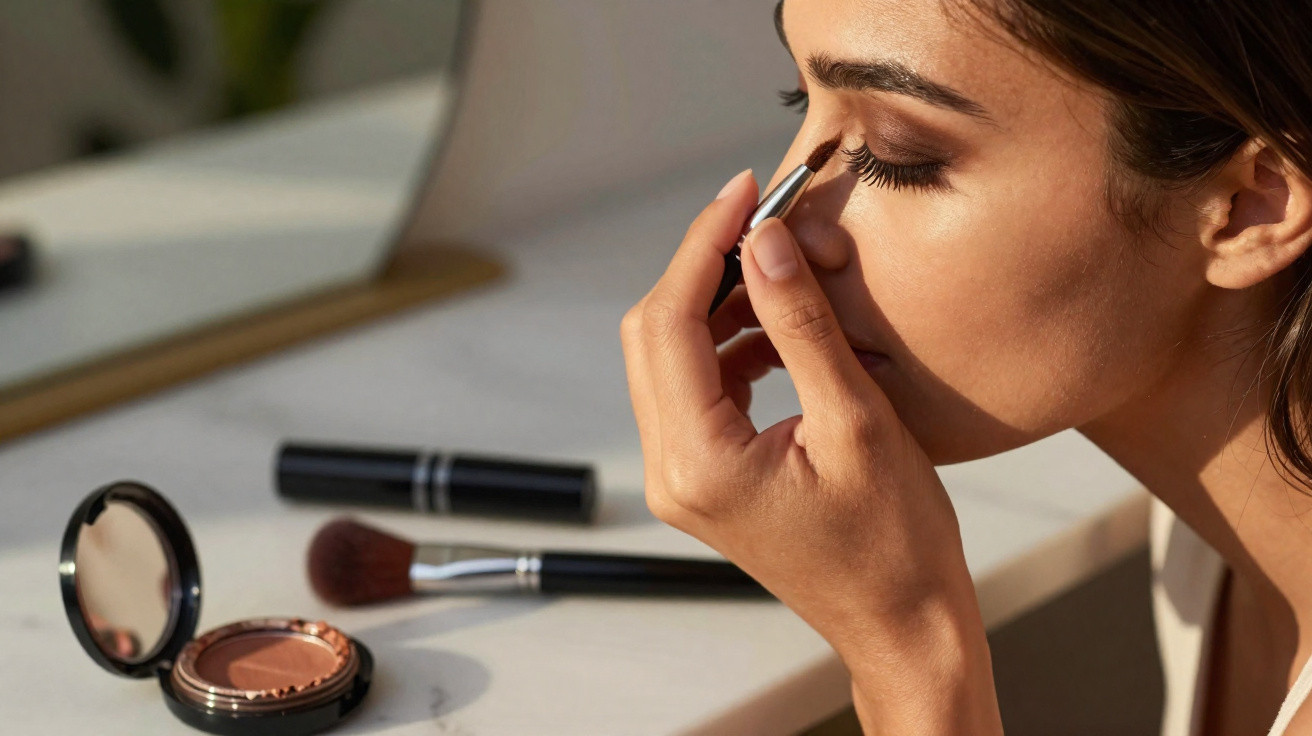
A brown Smokey Eye look promises exactly that.
While classic black can feel too harsh for many people, the beauty scene in 2026 is leaning more and more towards brown Smokey Eyes. The result looks less “painted on”, yet still gives the eyes an intense, slightly mysterious feel - as if that wow factor were simply natural. Make-up artist Charly Salvator shows how to create the trend, step by step.
Why brown Smokey Eyes are in such high demand
Brown Smokey Eyes are now widely seen as the softer, more wearable alternative to dark party make-up. They work for the office, dates and evening events without tipping into full drama. The big plus: brown shades suit both warm and cool undertones, and they flatter very fair as well as deeper skin tones.
"Brown Smokey Eyes add depth and intensity without making the gaze look hard - that’s exactly why they’re right at the top of the trend list in 2026."
Where black can quickly make smaller eyes look more closed-in, a well-placed brown tends to open up the gaze. Especially on mature skin, with hooded lids, or on very fair complexions, the look often feels more flattering than stark black edges.
The base: preparing the skin around the eyes
Before you reach for eyeshadow and kohl, the eye area needs a smooth, well-prepped surface. Otherwise, fine lines, dry patches or redness can show up strongly - particularly with cream formulas.
- Hydrate the eye area with a lightweight, non-greasy eye cream
- Blot away any excess with a tissue so nothing slips
- Optional: smooth a little eyeshadow primer over the lid
Charly Salvator then suggests applying a light, neutral cream base across the entire mobile lid and slightly above the crease. Beige, vanilla or a very pale peach work especially well.
"The light cream base works like a soft-focus filter: it neutralises redness and veins and helps brown tones cling better later on and look even."
Step 1: brown in cream form - the smoky foundation
On top of the light base goes a creamy brown eyeshadow. This is the real heart of the Smokey look.
How to apply brown cream eyeshadow
- Use a finger or brush to place a mid-to-deep brown cream eyeshadow onto the mobile lid.
- Keep the colour most concentrated close to the lash line at first.
- Blend upwards towards the crease and slightly beyond it.
- Soften the edge with a clean blending brush.
What matters most is a seamless transition into the skin, with no harsh stripe. Salvator emphasises that the outer corner can take more depth: if your lids are slightly droopy, build a little extra brown there and blend it out diagonally upwards. That creates a subtle lifting effect.
Step 2: kohl for depth - brown and a hint of black
Once the cream base is in place, it’s time for kohl. Start with brown, and only then add a very restrained touch of black.
Brown kohl for a soft frame
Apply a dark brown kohl pencil right along the upper and lower lash lines. Precision is not the aim - in fact, a slightly uneven line is welcome.
- Draw kohl close to the upper lashes and smudge it with a small brush or cotton bud.
- On the lower lash line, stop at the centre of the eye or at most two-thirds across, so the eyes don’t look closed.
- Gently connect the softened line with the brown already on the lid.
Only after that does black come in - and only on the inside of the eye.
Black kohl in the waterline
For extra intensity, the professional uses black kohl exclusively in the waterline, meaning the inner rim of the lid. The line runs from the outer to the inner corner.
"Black kohl delivers depth, while the brown tones keep the look soft and wearable - a smart compromise between drama and everyday."
If you have very small eyes, you can swap black for a deep brown on the lower waterline and use black only on the upper waterline. This helps the eyes look more open.
Step 3: set with powder - making the look long-lasting
Cream textures look fresh, but they can move more easily. That’s why Salvator sets every creamy step with powder eyeshadows in matching brown tones.
| Product | Function |
|---|---|
| Deep chocolate brown | Adds intensity at the outer eye, defines the shape |
| Mid brown | Transition shade through the crease |
| Light brown / beige | Softens the fade-out, blends the edges |
First, press the deep chocolate brown along the outer upper and lower lash lines over the cream base, then pull it softly inwards. Next, sweep a slightly lighter brown over the rest of the mobile lid to create the gradient. This is how you get that signature “smoky” effect with no visible line.
Step 4: brighten and tidy under the eye
For a truly polished finish, the area beneath the eye needs special attention. This is where little bits of fallout like to collect, making the face look tired.
Salvator opts for a medium-coverage concealer:
- Use a fine brush to apply it just beneath the edge of the eyeshadow.
- Blend downwards softly without breaking up the Smokey edge.
- Set lightly, for example with translucent powder.
A subtle, light shade directly under the eyebrow - not a strong glitter highlight, but more of a silky-matte cream or ivory - lifts the gaze further. The eye looks more open and refreshed.
Step 5: mascara and lips - the finish
Finally, a generous coat of mascara frames the look. Both top and bottom lashes matter here, so the “smoke” of the Smokey Eye reads clearly and the eye shape is defined.
"Fully coated lashes are almost essential with a brown Smokey Eye - they add structure to the soft haze of colour on the lid."
For lips, the make-up artist recommends restraint. A clear balm or a light, rosy gloss is more than enough. That way, the focus stays firmly on the eyes without the overall look feeling too much.
Who suits the brown smokey look - and what variations are there?
A brown Smokey Eye works with almost every eye colour:
- For blue eyes: slightly reddish browns with a touch of copper make the iris pop.
- For green eyes: taupe, cool chocolate browns and a hint of mauve increase contrast.
- For brown eyes: rich mocha or espresso, paired with gold or bronze accents.
If you prefer a softer daytime version, simply dial back the intensity: less deep brown along the lash line, more lighter tones through the centre of the lid, and perhaps brown kohl in the waterline instead of black. For evening, a metallic bronze pigment tapped into the centre of the lid instantly makes the style more glamorous.
Practical tips, common mistakes and small tricks
A few recurring Smokey Eye issues come up again and again - but they’re easy to avoid:
- Patchy edges: start with very little product and build in thin layers instead of placing lots of colour at once.
- Eyes look too closed: shade the lower lash line only to the centre and keep the inner area lighter.
- Smudgy finish: always set cream eyeshadow with powder, especially along the lower lid.
- Harsh transitions: at the end, use a clean, fluffy brush to blend the edges in small circular motions.
If you’re new to the technique, it’s worth doing a trial run at home on a free evening. That makes it easier to find your ideal intensity without time pressure before an event.
If your eyes are very sensitive, choose waterproof, ophthalmologist-tested kohl pencils and remove everything thoroughly before bed - carefully, not aggressively. Special oil-free removers for waterproof eye make-up lift pigment reliably without rubbing at the delicate lid skin. That way, the trend look stays not only stylish, but also eye-friendly.






Comments
No comments yet. Be the first to comment!
Leave a Comment